Spray Foam Insulation: What to Expect, Step by Step
The real installation-day process — prep, application, cure time, and inspection — from the crews who spray it across Seminole and West Texas.
Most homeowners understand why spray foam insulation works before they ever book a crew — the R-value numbers, the air-sealing pitch, the energy-bill math all get covered in the sales conversation. What almost nobody explains clearly is what actually happens on installation day: who shows up, what gets covered in plastic, how long you have to be out of the house, what that smell is, and how you know the job was done right when it's over.
That gap causes real anxiety. Contractor forums are full of homeowners asking some version of “is this normal?” mid-installation, because nobody walked them through the process beforehand. This guide closes that gap — the real, step-by-step sequence a professional spray foam crew follows, from the first walkthrough to the final inspection, plus exactly what to do to get your home ready and what “normal” actually looks and smells like along the way.
Desert Spray Foaming LLC is based in Seminole and installs spray foam throughout Andrews, Gaines, Terry, and Yoakum counties, plus Lubbock, Midland, and Odessa. Everything below reflects the process our own crews run on real job sites, not a generic national script.
Key Takeaways
- A typical single-family attic or crawlspace job is done in one day; whole-home retrofits or new construction take 2–3+ days depending on square footage and access.
- Spray foam is a two-component (A+B) chemical system mixed and heated to roughly 115–130°F at the spray gun — it's not applied cold out of a can.
- Closed-cell foam is sprayed in 1–2 inch passes (up to ~4in with high-lift chemistries) with cooldown time between passes — rushing this is the #1 cause of scorching and shrinkage.
- Professional two-component high-pressure systems carry a manufacturer-typical ~24-hour re-entry window before unprotected reoccupancy.
- Code requires a thermal barrier (typically ½″ drywall) between cured foam and living space, plus an ignition barrier in exposed attics and crawlspaces.
- Most manufacturers spec spraying only within a 60–80°F ambient/substrate range — a real scheduling factor with West Texas's wide day-to-night swings.
Before the Crew Arrives: The Quote and Inspection Walkthrough
Every installation starts before anyone touches a spray gun. A proper quote isn't a square-footage guess over the phone — it's a walkthrough where the estimator confirms the exact scope: which cavities get sprayed, which foam type (open-cell or closed-cell), existing insulation condition, electrical accessibility, and any moisture or pest issues that need addressing first.
This is also where the project gets sized for scheduling. Attic-only and crawlspace-only jobs on an average West Texas home are usually same-day work. Whole-home retrofits, new-construction shells, and commercial metal buildings take longer and often get scheduled in phases — more on that in the commercial insulation guide.
What Drives the Quote Number
Two homes with the same square footage can get very different quotes, and the reason almost always traces back to what the walkthrough uncovers. A clean, empty, dry attic with straightforward access is the fastest and cheapest scenario. Add in old insulation that needs removal first, cramped or low-clearance crawlspace access, exposed wiring that needs an electrician before foam goes in, or existing moisture damage, and both the labor time and the price move accordingly. This is also the point where foam type gets decided — not every cavity should get the same product. Interior walls in a dry West Texas home often do fine with open-cell for cost and sound-dampening reasons, while roof decks, rim joists, and anything touching metal typically call for closed-cell's vapor-barrier and structural properties. Our open-cell vs. closed-cell guide breaks down exactly how that decision gets made room by room.
The 8-Step Installation Process
Here's the actual sequence a licensed crew follows on installation day, whether it's a residential attic in Seminole or a metal shop outside Andrews.
Site Walkthrough & Scope Confirmation
The lead installer walks the space one more time against the signed quote before any equipment comes off the truck. This catches anything that changed since the estimate — a new HVAC run, additional storage in the attic, a leak that wasn't there before. It's also the last chance to confirm access points and where hoses will run.
Prep, Masking & Isolating the Work Area
Everything that isn't getting sprayed gets covered. Floors, windows, fixtures, HVAC intakes, and any exposed ductwork get masked off with plastic sheeting to control overspray. The crew marks off and isolates the active work zone so foot traffic doesn't wander into it once spraying starts.
Substrate Prep
If old insulation is contaminated (wet, moldy, pest-affected) or simply compressed and thin, it gets removed before new foam goes in — see our guide on when to replace insulation for how that decision gets made. Leaks get repaired first, and electrical is confirmed complete and up to code, with junction boxes left accessible.
Equipment Setup
This is the part most homeowners never see: spray foam isn't premixed. It's a two-component (A-side and B-side) chemical system, stored in separate drums and pumped through heated hoses to a proportioning spray gun where the two components mix on contact. Component temperature typically runs 115–130°F through the hose system. Before the trigger gets pulled, the crew calibrates the proportioner to confirm a correct 1:1 mix ratio — an out-of-ratio mix is one of the most common causes of soft, sticky foam that never fully cures right, a failure mode covered in detail in the SPFA's published best-practices guidance for SPF installation.
Application
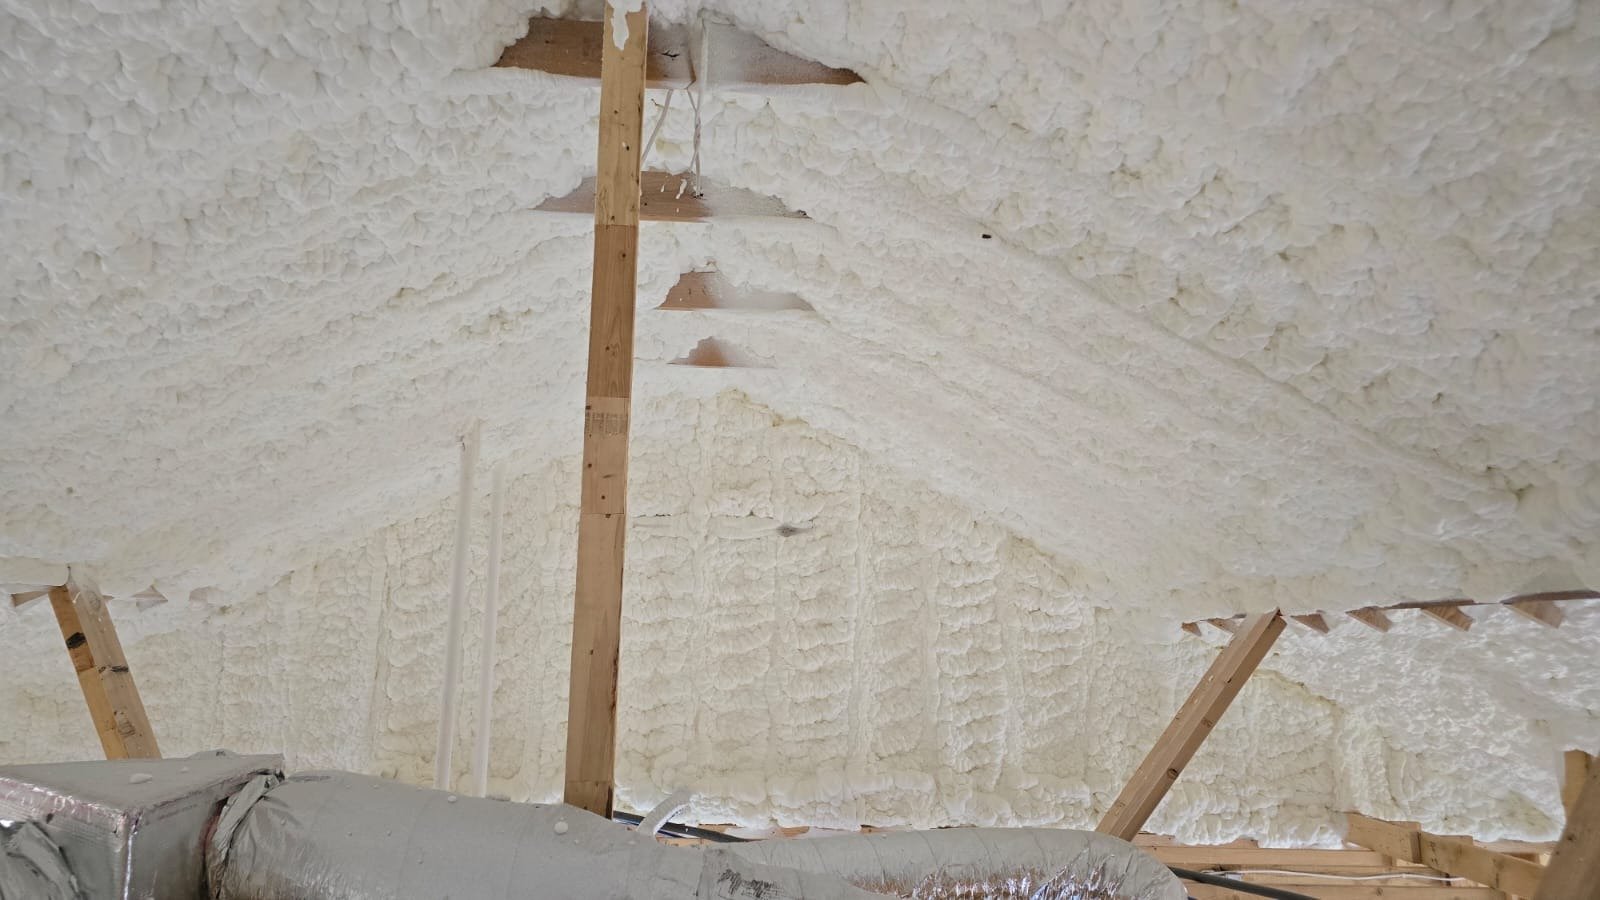
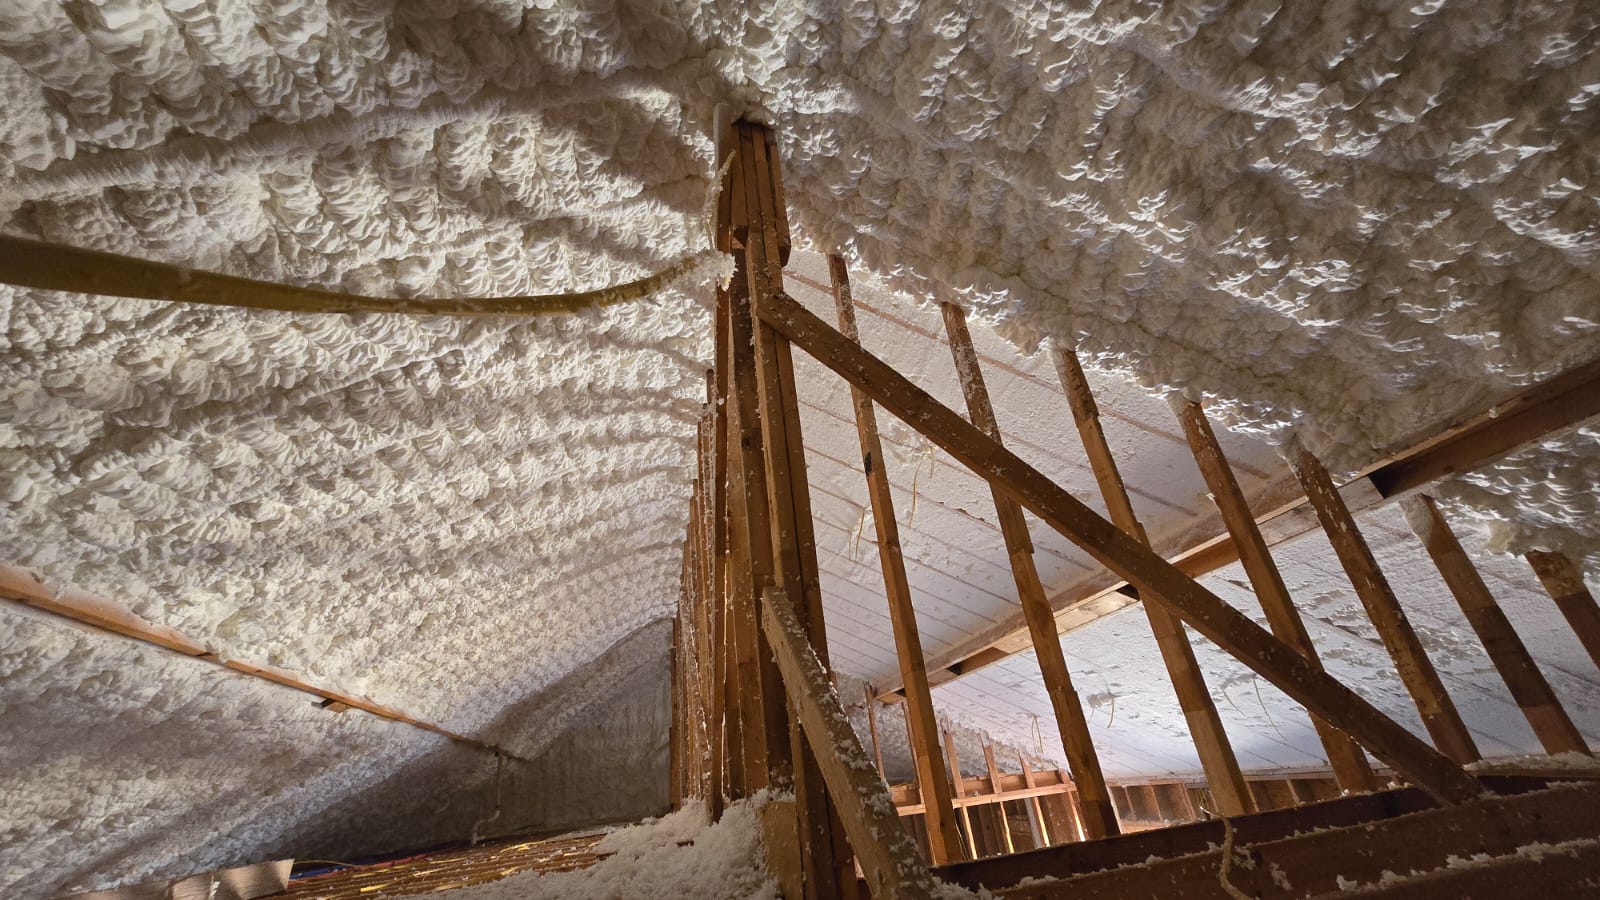
This is where technique separates a good installer from a bad one. Closed-cell foam expands and cures exothermically (it generates its own heat as it reacts), which limits how thick a single pass can go — typically 1–2 inches per pass, up to about 4 inches with newer high-lift chemistries — with a cooldown period between passes. Spraying too thick, too fast causes scorching, off-gassing, and shrinkage cracks that show up later. Open-cell foam expands faster and to a much greater volume (roughly 100x vs. closed-cell's 30–60x), so it's often applied to full depth in fewer passes. See the full open-cell vs. closed-cell comparison for the technical difference.
Trim & Scrub Coat
Open-cell foam over-expands past the framing line and gets trimmed flush so drywall or paneling can go on cleanly — sometimes called a “scrub coat.” Closed-cell may get a finish pass to even out thickness across the cavity. Uneven trim means uneven drywall; uneven thickness means uneven R-value.
Cleanup
Masking comes down, overspray gets cleaned from any surface it landed on, and — a real quality signal to check for — every chemical container and drum leaves with the crew. A professional installer never leaves spent chemical containers on your property.
Final Inspection & Documentation
The lead installer checks coverage and thickness against spec, confirms any code-required thermal or ignition barrier is in place per the International Residential Code's foam plastic insulation requirements, and typically photo-documents the finished work before it gets covered by drywall. Warranty paperwork is handed over at this point.
Homeowner Prep Checklist
A few things done before the crew arrives make the whole day go faster and cleaner:
Day-Of: Vacating, PPE & Jobsite Safety
Spray polyurethane foam is a reactive chemical system, and the installation industry treats jobsite safety seriously — for good reason. During application, SPFA and EPA guidance is consistent: occupants, pets, and any unprotected workers stay clear of the active work zone.
This isn't about the finished product being unsafe. Once cured, spray foam is chemically stable and inert. The precautions are specific to the application window, when uncured chemical vapors and overspray particulates are actively present.
Weather Windows: Why Installers Watch the Forecast
Spray foam chemistry is temperature- and humidity-sensitive. Most manufacturers specify application only within roughly a 60–80°F ambient and substrate temperature range, with controlled humidity to prevent adhesion problems and condensation during cure. Spray outside that window and you risk poor expansion, weak adhesion, or a surface that never fully cures right.
Ideal Spray Application Temperature Window
Ambient/substrate temperature range most manufacturers specify for proper adhesion and cure. Source: field-verified manufacturer application guidance.
That's a real scheduling factor here, not a theoretical one, and it's consistent with the building-science guidance DOE's Building America Solution Center publishes on spray foam application conditions. West Texas runs 25–30°F diurnal swings on a normal day — see our Texas summer prep guide for the full seasonal picture — which means a good installer is watching early-morning temperatures and midsummer heat spikes just as closely as the calendar. A rescheduled appointment because of weather isn't the crew being difficult; it's the difference between foam that performs for 80+ years and foam that has to be redone.
Wind and dust matter too, though for a different reason. Exterior work and roof-deck applications are more sensitive to blowing dust getting into wet foam than interior attic or wall work is, which is part of why experienced crews in this region favor early-morning starts during the windier spring months. None of this changes the finished product's performance once properly applied — it just means the installer you want is the one willing to move a start time rather than spray through a bad window.
The chemistry doesn't care about your deadline. Rushing a lift pass is how you get scorched foam and a callback — which is exactly why cooldown time between passes isn't optional.
After the Foam Cures: Re-Entry, Inspection & Warranty
Re-Entry Timeline After Application
Source: SPFA re-entry info sheet + EPA Safer Choice archive, “Vacate and Safe Re-Entry Time for SPF Application.”
Re-entry timing depends on the specific product, foam volume sprayed, temperature, humidity, and ventilation — but as a baseline, EPA guidance on professional two-component high-pressure systems (the type used in whole-home and commercial installs) points to roughly 24 hours before unprotected reoccupancy, which lines up with the ~24-hour open-cell / 24–48-hour closed-cell figures our own field data supports. Opening windows and running fans after that window speeds air quality recovery further.
One detail EPA guidance flags specifically: children are more vulnerable during the re-entry window, since kids tend to crawl, sit, and roll on carpets and floors where residues settle longest. If anyone in the household has asthma or respiratory sensitivity, err toward the longer end of the re-entry range and extra ventilation before full reoccupancy.
Once you're back in the space, cured foam is chemically inert — the off-gassing period is specific to the first 24–72 hours after application, not an ongoing condition. Your warranty paperwork should already be in hand from Step 8; keep it, along with the photo documentation, in case anything needs to be verified down the road. If drywall or another finish surface is going up over the foam, that's typically scheduled once the crew and any inspecting authority (for code-required thermal/ignition barrier sign-off) have confirmed the foam meets spec.
DIY Kit vs. Professional Installation
Small aerosol/kit spray foam products exist for minor gap-filling — a few cracks around a window, a small penetration in a rim joist. They are not the same product class as whole-building professional application, and the difference matters for both process and outcome. Kit systems use low-pressure canisters, cover a fraction of the square footage a truck-mounted rig can handle in a day, and don't give you the calibrated 1:1 mixing ratio a proportioning rig maintains automatically. That ratio control is exactly what prevents the soft, tacky, never-fully-cured foam that gives spray foam its worst reputation online — almost always an application problem, not a material flaw.
| Factor | DIY Kit | Professional Installation |
|---|---|---|
| Equipment | Low-pressure disposable canisters | Heated proportioning rig, calibrated mix ratio |
| Coverage per session | A few square feet of gap-filling | Whole attic/room/building in a day |
| Mix ratio control | Fixed, not calibrated per job | Verified 1:1 A/B ratio before spraying |
| Typical re-entry | ~1 hour (manufacturer-cited for kits) | ~24 hours (professional 2-component systems) |
| Best use case | Small gap/penetration sealing | Attics, walls, crawlspaces, whole buildings |
| Warranty & documentation | None | Written warranty + photo documentation |
Common Installation Myths (and What's Actually True)
Commercial & Metal Building Install Notes
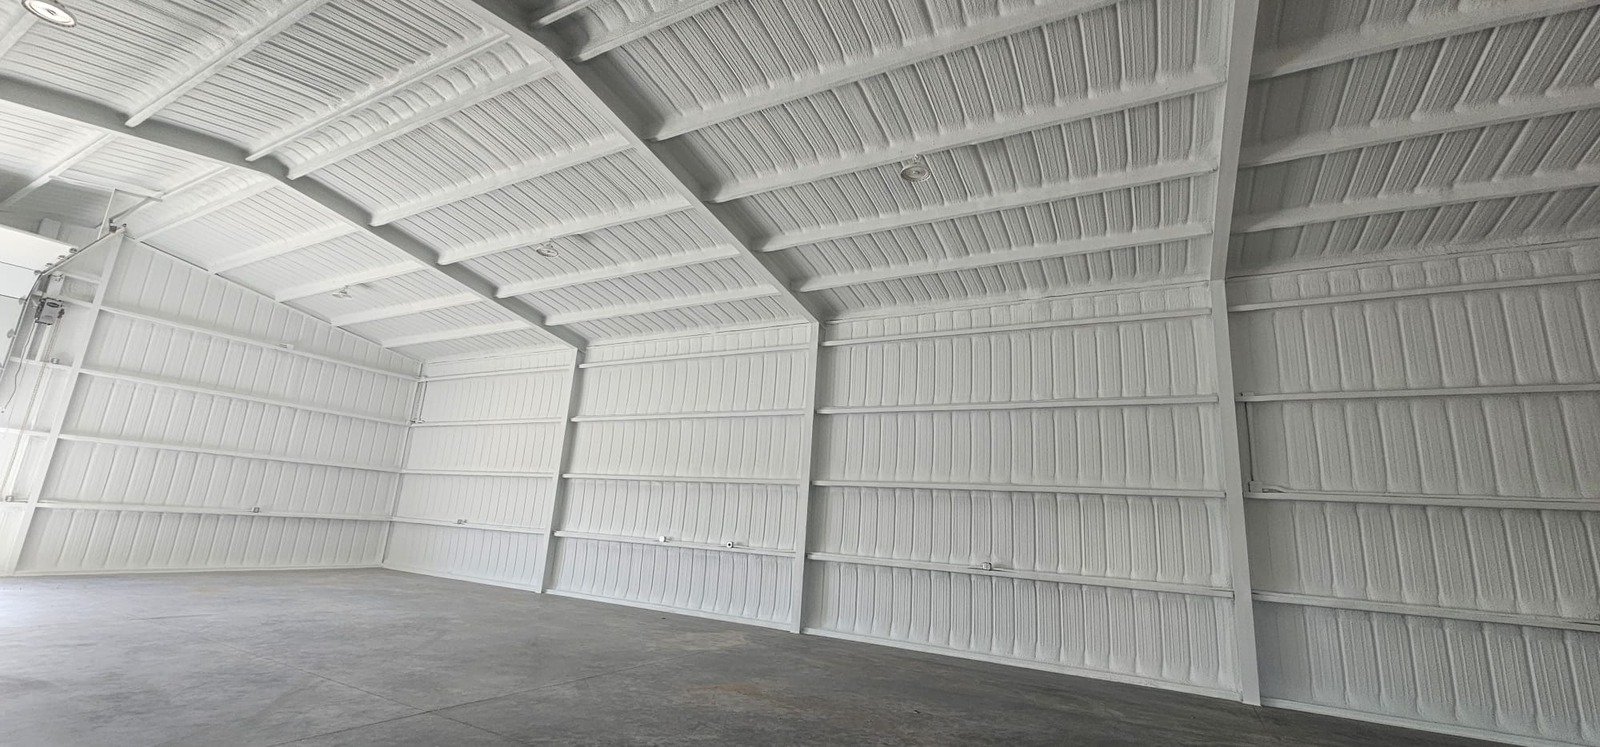
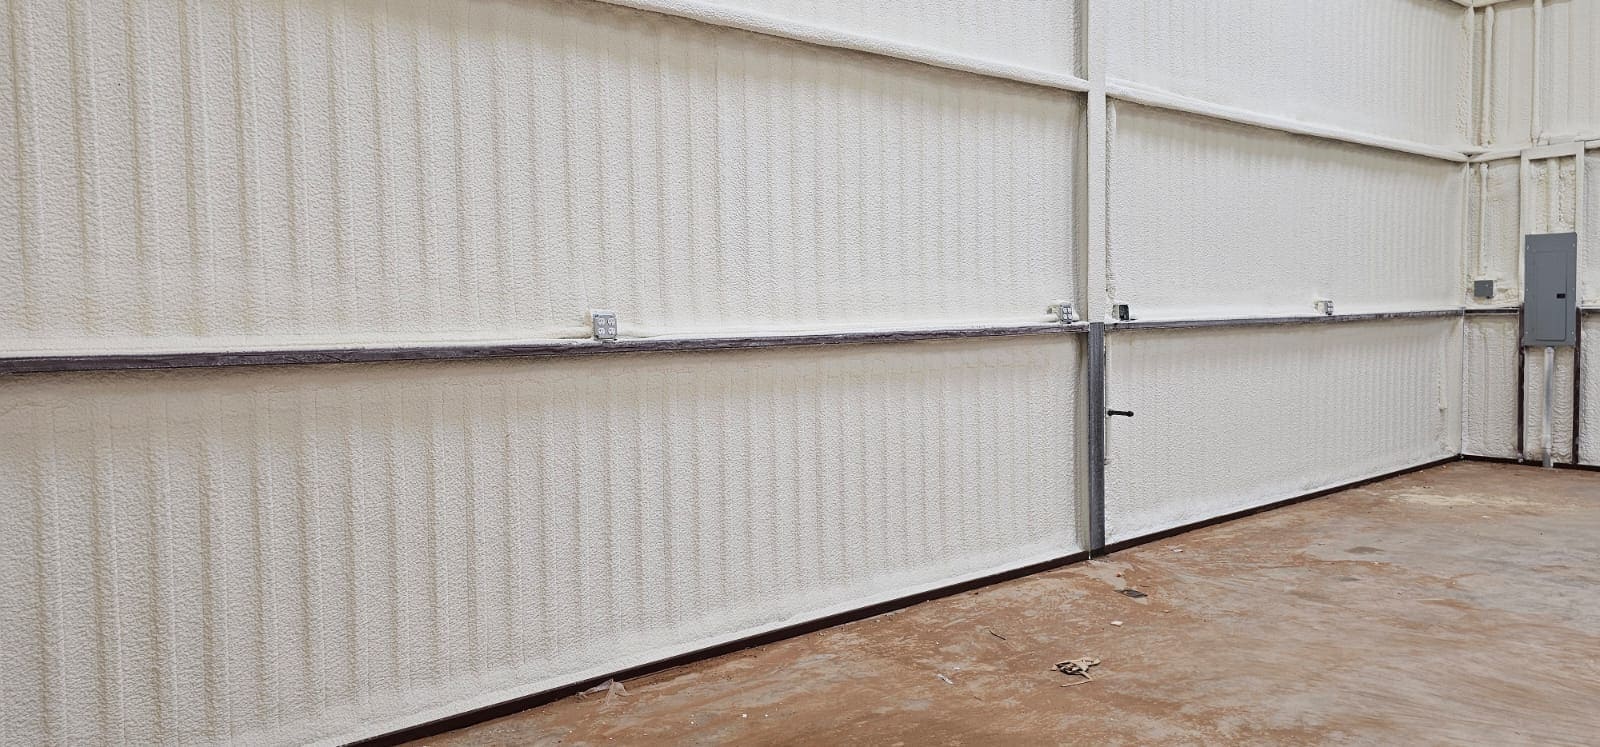
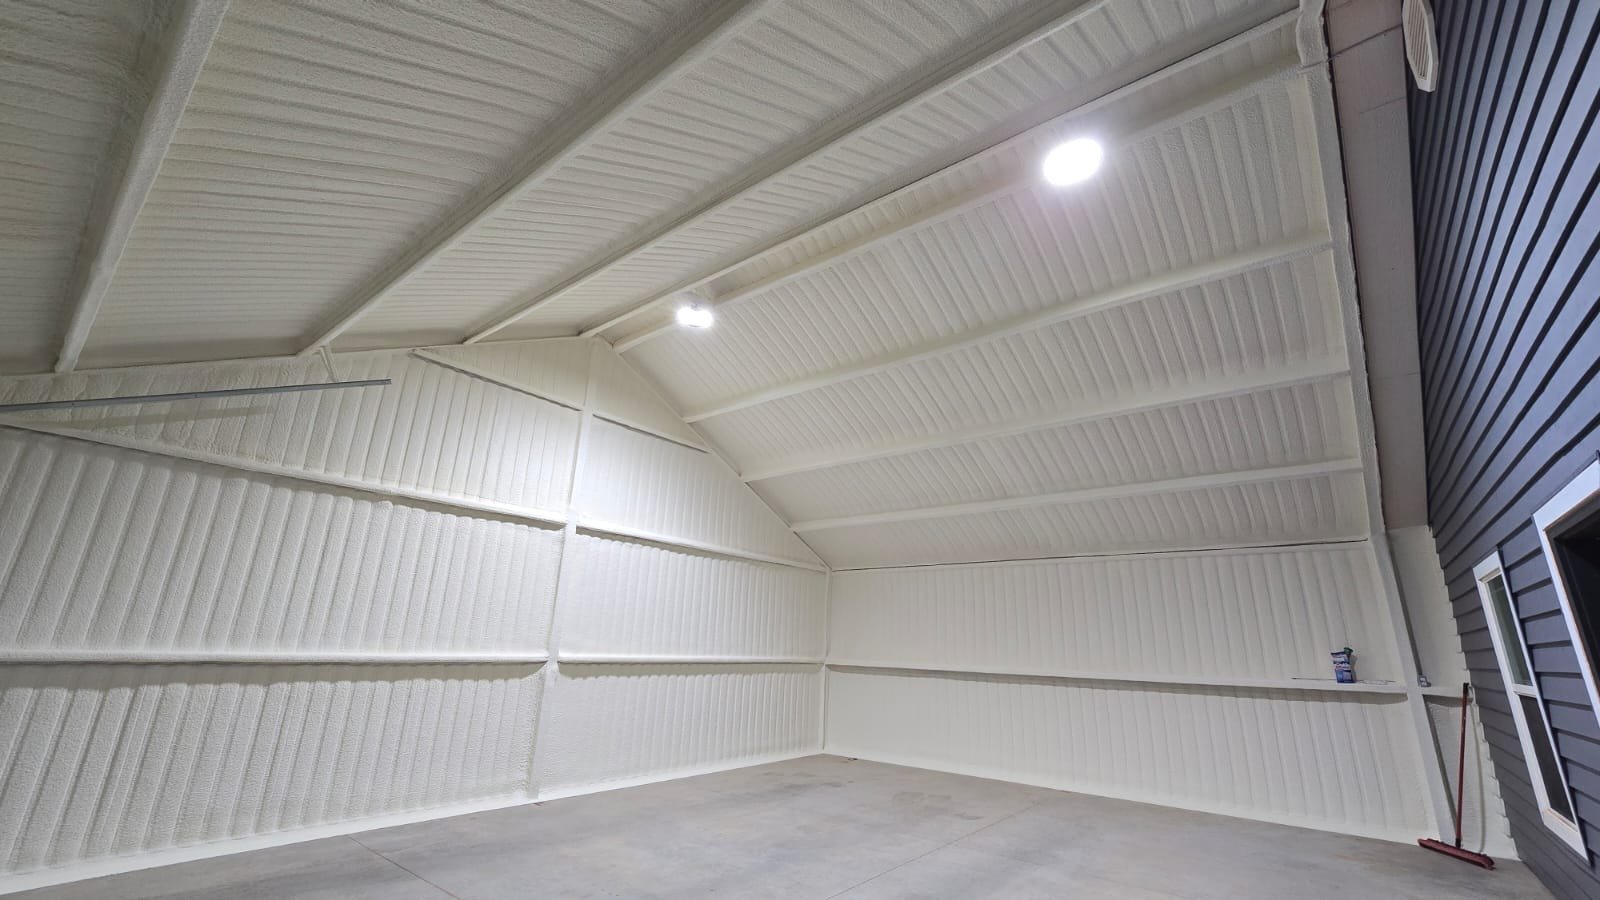
Metal buildings, pole barns, and warehouses follow the same eight-step sequence with a few differences worth knowing. Closed-cell is standard here regardless of climate — day-to-night temperature swings on bare steel cause dew-point condensation independent of ambient humidity, and closed-cell bonded directly to the metal panel eliminates the air gap that causes it. Substrate prep gets extra attention too: mill-applied release agents on new metal panels can leave a film that creates localized condensation points if the applicator doesn't address it first.
Commercial jobs are also more likely to run in phases around active business operations rather than a single continuous day — a shop that can't fully close, a warehouse with inventory that has to stay accessible. Larger footprints also mean more equipment on site at once — multiple rigs, more hose runs, and a crew sized to match the square footage rather than a single-truck residential setup. Our commercial insulation guide covers the building-type and code side of that in more depth.
On a metal building, the substrate prep step isn't optional busywork. Skip it and you're insulating over the exact condition that causes the metal to sweat in the first place.
Timeline and Cost Snapshot by Project Type
Installed cost tracks foam type and scope more than timeline: fiberglass runs roughly $0.30–1.50 per square foot, open-cell spray foam $1.00–1.50, and closed-cell $1.50–3.00. ENERGY STAR's own guidance confirms that air sealing combined with proper insulation can meaningfully lower heating and cooling costs, and the installation-day process is exactly what delivers that seal — it isn't a separate step. The benefits of spray foam insulation and our energy savings breakdown both cover the return-on-investment math in more depth — but the installation-day process itself is the same regardless of budget tier, just scaled to scope.
How the Process Shifts by Area: Attic, Crawlspace, Walls & Roof Deck
The eight-step sequence holds for every job, but the details flex depending on which part of the building is being sprayed:
Knowing which category your project falls into is a useful way to sanity-check a quote. If an estimator is treating a crawlspace exactly like an open attic, or specifying open-cell for a bare-metal roof deck, that's worth a follow-up question before signing anything.
Questions Worth Asking Before You Book
Frequently Asked Questions
How long does spray foam insulation installation take?
Do I need to leave my house during spray foam installation?
What temperature does it need to be to spray foam insulation?
How do I prepare my home before a spray foam crew arrives?
What actually happens during installation, step by step?
How thick should spray foam insulation be applied?
Does spray foam insulation smell during installation?
Is spray foam installation messy?
Is the installation process different for open-cell vs. closed-cell foam?
What happens after installation is finished?
Can I stay in part of my house while another part is being sprayed?
What's a red flag during installation that means something's wrong?
The Bottom Line
Spray foam installation isn't a mystery once you know the sequence — it's a controlled, repeatable process with real chemistry, real timing constraints, and real quality checkpoints along the way. Knowing what's normal (the smell, the vacate window, the masking, the multi-pass application) and what's a red flag (containers left behind, no inspection, spraying outside temperature spec) puts you in a much better position on installation day, whether it's an attic in Seminole or a metal shop out toward Andrews.
Ready to See the Process in Person?
Get a walkthrough and quote from the crew that actually sprays it — serving Seminole, Andrews, Lubbock, Midland & Odessa.